
How to Install Window Clings and Decals
Posted by Bannernprint on Aug 09, 2021
Window clings and decals are some of the most effective, convenient and attractive ways to boost the appearance of your store. They will not only help you dramatically improve your brand's image but will also help in attracting customers to your store. There is no doubt that windows space has become an important selling platform for stores because they allow people to see the products inside the store without having to enter. It is important to know that the more appealing the window design is, the better the chances are of increased sales. What is the best way to improve the aesthetics of your window display? Here are some of the best tips for you.
Window clings are perfect for short-term or interchangeable storefront advertisements while window vinyl adhesives and see-through decals are great for long-term logo placements. See-through decals are a very effective choice due to their transparent design that allows for widespread window coverage without the need to sacrifice natural light inside of the building. The application of our clings and decals is simple, and our high-quality decals are designed to be easy to remove while leaving behind little to no adhesive residue.
For those looking to cover the entire exterior of their windows, we offer an assortment of vinyl window clings in a wide variety of styles and sizes. Our window clings are perfect for retail storefronts, and they can be used with virtually any type of window installation. Our window clings can be removed without leaving behind any adhesive residue, and they can be easily cleaned with warm water and soap.
Wet vs Dry Application
Dry application is quick and convenient for small decals. Simply peel the backing and carefully place one edge of the decal on a clean, dry, flat surface. Then, starting from that edge, move outwards with a squeegee all the way to the other edge. Decals larger than around 12 inches should be applied with the wet application method to prevent unsightly folds and bubbles. We do recommend the wet application method for all window decals as it prevents streaking and bubbling.
How to Apply Window Decals
Step 1: Remove the backing from your decal. Peel off the clear protective layer and apply it to the surface you wish to place the decal on.
Step 2: Use a squeegee to carefully smooth out the adhesive layer on the decal.
Step 3: Once smooth, carefully peel the decal off the backing. Carefully place the decal in position.
How to Remove Window Decals
Step 1: Start by pulling the decal off the surface.
Step 2: If you see any residue remaining on the surface, use a clean, dry cloth to gently rub it away.
What are Bubble-Free Window Decals?
Bubble-free window decals are created using an advanced printing technique that eliminates bubbles and wrinkles. They are the most popular and affordable type of window decals we offer. Simply apply them with a squeegee and they will stick perfectly!
Window Vinyl Adhesives
Thoroughly clean the surface you’re applying your adhesive decal to. Make sure there are no dust or residual particles. Then, starting from the top, peel back an inch of the backing off of your decal. Use a light soap and water mixture to wet the glass and place your see-through decal onto the glass, starting from the top. Use a squeegee or credit card and move in gentle, downward movements, beginning at the top center of the graphic. Continue the downward motion until all the exposed adhesive is stuck on the surface. Use your squeegee to squeeze bubbles and wrinkles out towards the outer edges of the graphic. Pull down the backing paper another inch and repeat the process.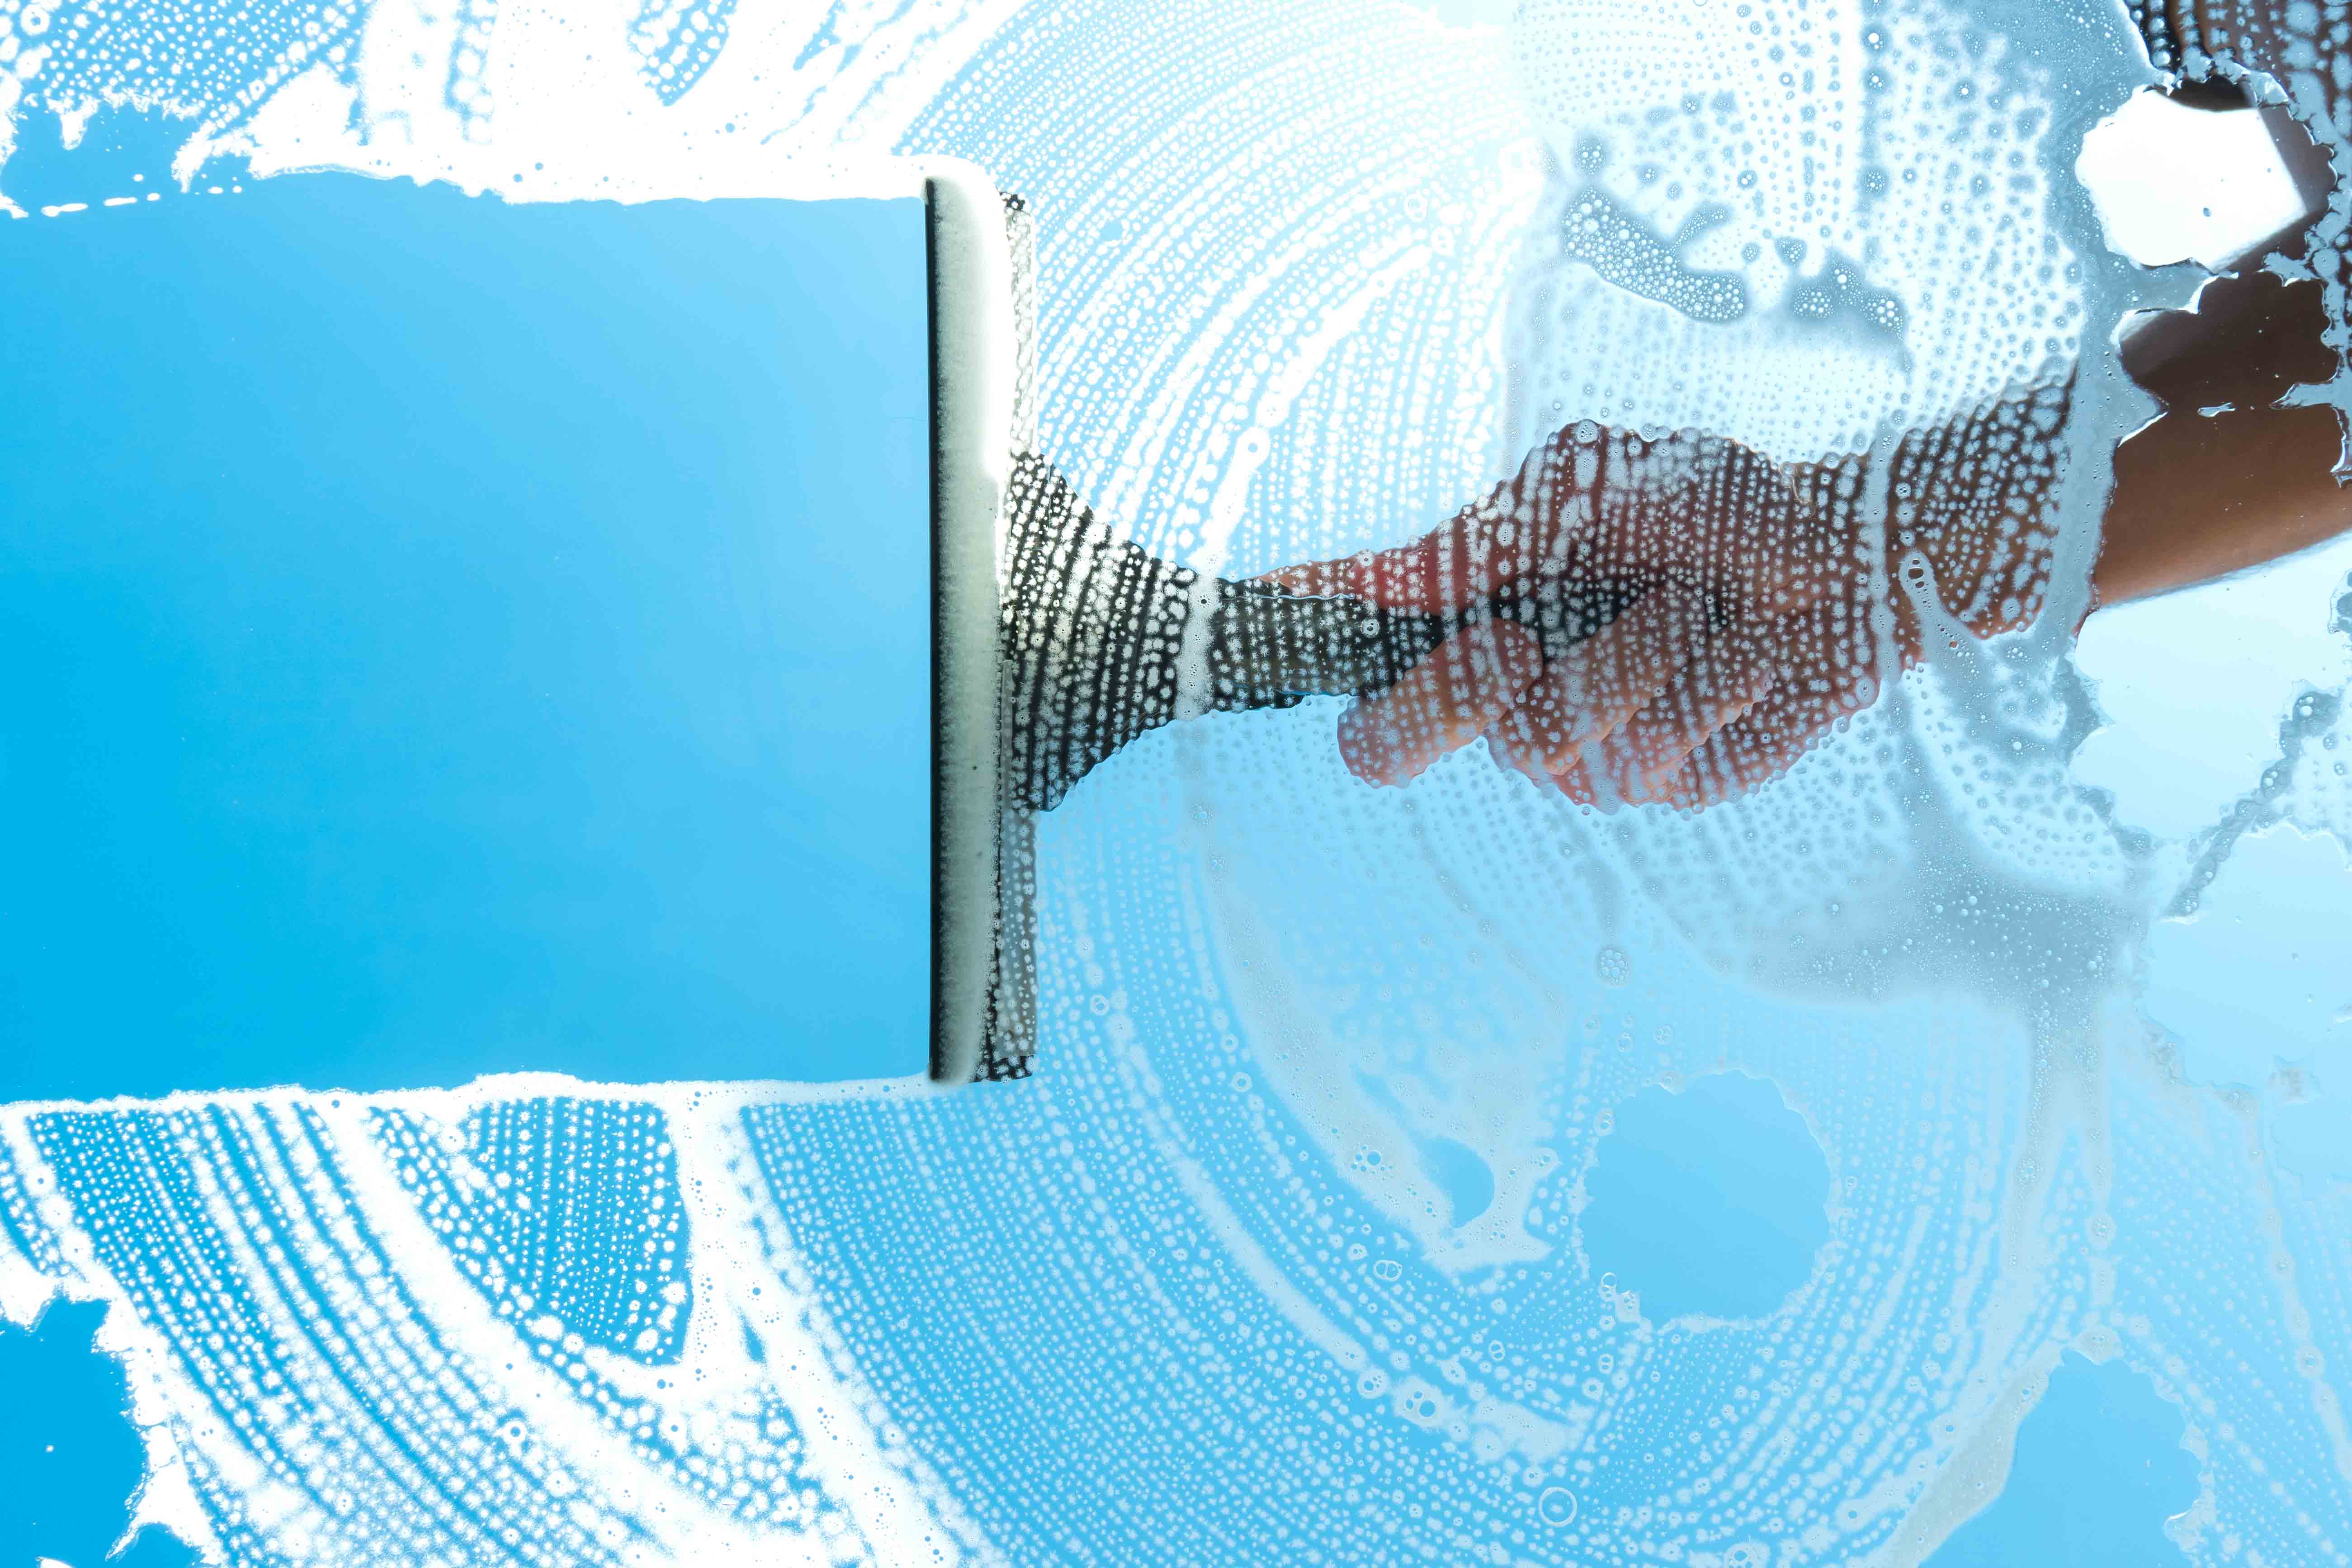
See-through Decals
Thoroughly clean the surface you’re applying your decal to. Make sure there is no dust or residual particles. Then, starting from the top, peel back an inch of the backing off of your decal. Use a light soap and water mixture to wet the glass and place your decal onto the glass, starting from the top. Use a squeegee or credit card and move in gentle, downward movements, beginning at the top center of the graphic. Continue the downward motion until all exposed adhesive is stuck on the surface. Use the squeegee to squeeze bubbles and wrinkles out towards the outer edges of the graphic. Pull down the backing paper another inch and repeat the process.
Post-Application
After all the excess water has been squeegeed from under the decal, allow it to dry for 1-2 hours. If your decal has a protective sheet on top, peel it off once the decal is dry to avoid causing damage to your print. Then, allow your decal to set for 24 hours.
Once completely set, your decal installation is all done! All of our decals at bannerNprint should serve your purposes for years to come, as we pride ourselves on using the highest quality materials at affordable prices.